

The Print Then Cut feature on your Cricut machine is a true game-changer, offering endless possibilities for bringing your creative visions to life. Whether you’re a seasoned crafter or just dipping your toes into the world of DIY, mastering this feature opens up a whole new realm of crafting potential. Let’s dive in and explore the magic of Print Then Cut together!
Understanding Print Then Cut
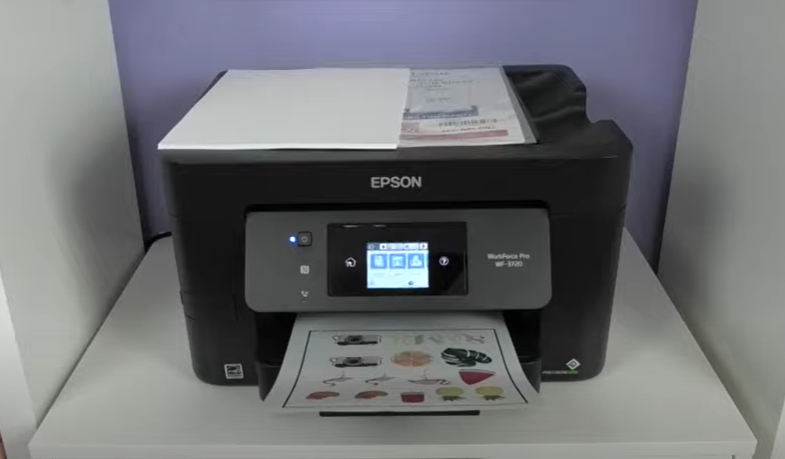
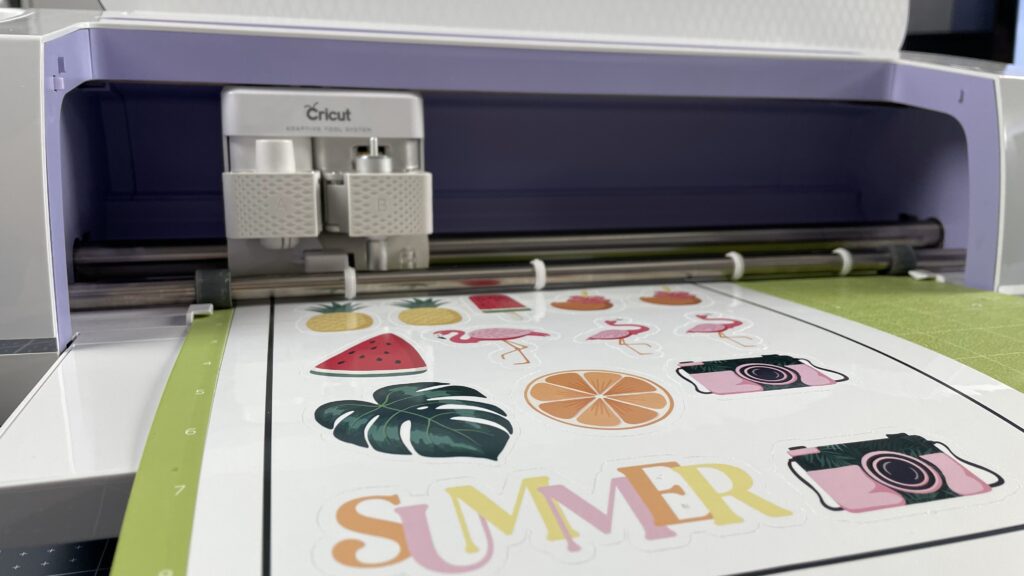
First things first, let’s break down what Print Then Cut is all about. This innovative feature allows you to print your designs on your home printer and then precisely cut the design with your Cricut machine. Whether you’re creating custom stickers, intricate paper crafts, or personalized printable vinyl decals, Print Then Cut gives you the power to turn your digital designs into tangible works of art with ease. Avoid layering several colors or complex designs by using the Print then Cut feature of your Cricut instead! I know it can seem intimidating to Cricut beginners, but once you practice, it becomes second nature.
Getting Started with Print Then Cut Supplies
Now that you understand the basics, let’s talk about how to get started with Print Then Cut. Every Cricut project is going to vary with the exact supplies needed, but there are a few staples that are necessary for any Print then Cut project.
- Laptop, tablet, or phone with Cricut Design Space installed
- Cricut machine – Cricut Explore series, Cricut Maker series, or Cricut Joy Xtra. The original Cricut Joy isn’t compatible with Print then Cut
- Home printer
- Cutting mat – usually the light grip mat
- Weeding tools
- Printable material – we’ll cover this in the next section
- The rest of the supplies will depend on your project
You can find some of my favorite print then cut supplies in my Amazon storefront. Once you have your Cricut setup and your printer connected to your device via USB or wifi, simply design or upload your desired PNG file into Cricut Design Space, size the file appropriately, follow the prompts to print from Design Space, and then load the printed material into your Cricut machine for precise cutting. It’s as easy as that!
Choosing the Right Materials
Choosing the right materials is key to achieving perfect results with Print Then Cut. Opt for high-quality printable materials that are compatible with both your printer and Cricut machine. Sticker paper is perfect for creating custom stickers for planners, scrapbooks, and more, while cardstock is ideal for intricate paper crafts like greeting cards and invitations. Printable vinyl with a UV laminate is a great material for creating waterproof and long lasting stickers and decals. Another popular choice for print then cut is printable heat transfer vinyl. Printable HTV works great for making t-shirts, tote bags, and other fabric crafts with print then cut designs. That’s not all you can use with print then cut, the list is endless! Experiment with different materials to find what works best for your specific projects.
Designing Files for Print Then Cut
When it comes to designing for Print Then Cut, there are a few things to keep in mind to ensure success. First, be mindful of the size limitations of the feature, which can vary depending on your Cricut machine model, as well as updates to Cricut Design Space. Additionally, be sure to turn on the bleed in Cricut Design Space. This prompts the Cricut to cut slightly outside the printed area to ensure a clean edge. Use high-resolution images for the best results. Low resolution images like screenshots won’t create high quality projects. I always recommend using PNG type files for print then cut because they are higher quality then most JPG files, and they can be saved with a transparent background. This means you won’t have much “cleaning up” to do on your image when uploading into Cricut Design Space. Don’t be afraid to get creative with your designs!
Tips for Success
Achieving perfect results with Print Then Cut may take some practice, but fear not – I’ve got you covered with some handy tips and tricks! Calibrate your Cricut machine regularly for optimal cutting accuracy, and double-check that your printer is properly calibrated as well. Use a light grip mat to prevent your printed materials from tearing or shifting during cutting, and be sure to clean your machine’s blade regularly for crisp, clean cuts. With a little patience and practice, you’ll be a Print Then Cut pro in no time!
Creative Ideas for Print Then Cut Projects
Now that you’ve mastered the basics, it’s time to get creative! The possibilities are truly endless when it comes to Print Then Cut projects. Create custom stickers for decorating planners, scrapbooks, and journals, or design your own unique waterproof decals for personalizing everyday items like water bottles and laptops. Get crafty with intricate paper projects such as pop-up cards, gift tags, and paper flowers, or explore the world of printable iron-on transfers for custom apparel and accessories. Printable magnet sheets allow you to make custom photo magnets, magnetic bookmarks, and more! Let your imagination run wild and see where it takes you!
Take your Print Then Cut projects to the next level
Ready to dive deeper into the world of Print Then Cut? Join me for a DIY Alex Workshop all about mastering this incredible feature on your Cricut machine. Whether you’re looking to brush up on your skills or learn some new tips and tricks, my workshop is the perfect opportunity to take your Print then Cut crafts to the next level. Don’t miss out – sign up today and unleash your creativity with Print Then Cut!


View the comments
+ Leave a comment